
Getting Started with Adobe Dreamweaver
- Getting Started
- Site Management and Templates
- Hyperlinks
- Links and Anchors
- Cascading Style Sheets
- Publishing
- More Resources
- Tables and Divs
- Frame Layouts
- Image Maps
- User-Input Forms
- Spry Widgets
- Pop-Up Menus
- Behaviors
- Images
- Media Elements
- Rollovers
- Video & Multimedia
Dreamweaver can be a daunting tool at first glance. Since it is a professional application, there are many windows and many different things you can do. For our purposes, though, we can make life with Dreamweaver very simple by ignoring many of the extraneous features and going right to the heart of the matter.
Dreamweaver is currently in version CC (Creative Cloud) for both Macintosh and Windows, although the previous versions, CS3, CS4, CS5, and CS5.5, and CS6 are still widely used. There are few interface changes between the versions; the widest additions made to version CS6 and CC are in template availability, and advanced server and publication features. More information about changes in versions can be found here: http://www.adobe.com/products/dreamweaver/ or http://www.adobe.com/products/creativecloud.html
Dreamweaver's icon appears as a stylized "DW" on a green background.
Like Microsoft FrontPage and other web page creation tools, Dreamweaver creates files with the extension .htm or .html. HTML (hypertext markup language) is the language of the Internet, so any program that creates HTML files may be used to make and publish Web pages.
To get started, click the Dreamweaver icon to open the program with a new blank document window.
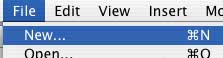
(Note: If a new document does not appear for you, click the File menu, then click New. At the next screen, choose to have a blank HTML page as your starting point.)
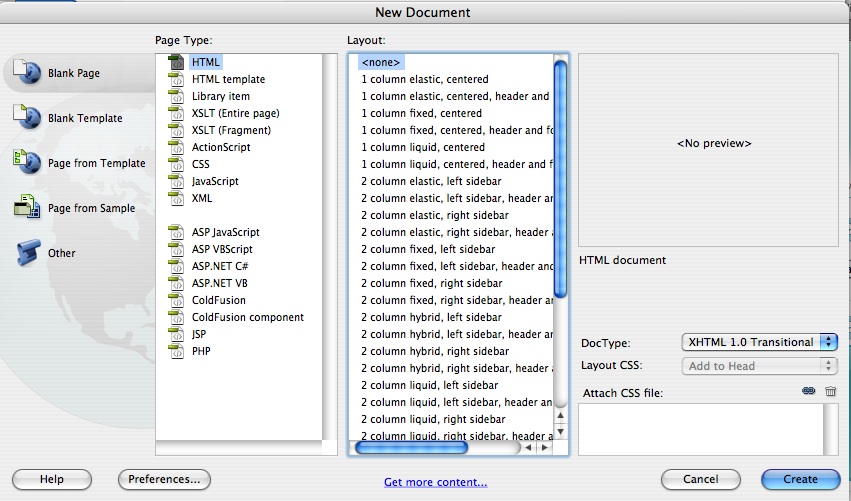
Note how many choices are available in the New Document window - Dreamweaver CS3 includes a wide variety of templates to help you start your pages, whether they are HTML, ASP, JSP, or PHP. Many other languages are supported by Dreamweaver as well, so if you wish to create your own CSS code, XML for RSS feeds, JavaScripts, or ActionScripts for Flash, Dreamweaver will give you a place to start. The New Document window also allows you to choose to create new pages based on existing templates you have created, or to start with one of the many available Sample pages and sites. Adobe has provided many options and starting points so that even the novice designer can create attractive, easy-to-navigate pages based on either CSS (Cascading Style Sheets) or basic HTML.
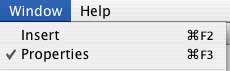
You may also have a host of other windows on your screen when you first start Dreamweaver, but the only windows most beginners have a need for are the Insert and Properties windows. To access these, click the Window menu, then choose each of these windows to make them visible. Any other windows you may close if you do not need them.
Your working area should now look similar to that shown below.
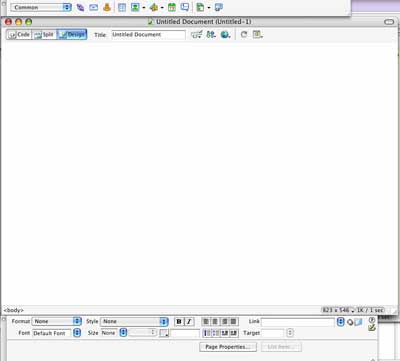
Insert Window
The Insert window functions as a toolbar and provides shortcuts to many functions in Dreamweaver. You may switch between different categories of shortcuts by clicking the popup menu at the left-hand side of the window.

Properties Window
This is where a great deal of the "magic" in Dreamweaver takes place. Depending on what is selected in the document, the Properties window changes to give you all of the tools necessary to manipulate the selected item.

Thus, in the example above, the Properties window is focused on text. The font type, style, size, color, and alignment may be changed using the uppermost tools. Note the text color box in Dreamweaver: any time you see this box, it means a color can be changed.
Also included is the ability to add a link, a link target, and to add an outline or bulleted list, very similar to Microsoft Word.
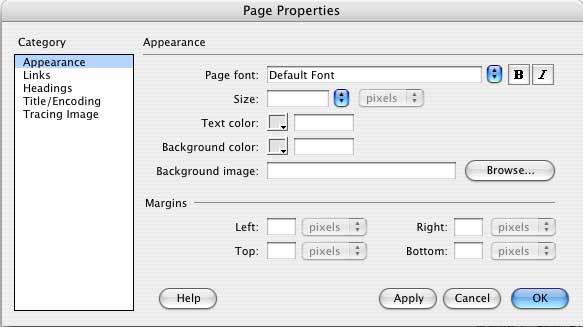
Page Properties
Available in the Properties window as a button is the Page Properties area, where settings may be changed globally for the entire page. This includes the font, colors of text, links, previously visited links, active links, and the background, and the document's title. GIF or JPG images may also be added as background images that will be tiled across the entirety of the screen (see Working with Images for more information).
It is recommended that new users experiment with these settings to see how each one works and how they can be used in Web pages.
Previewing Pages
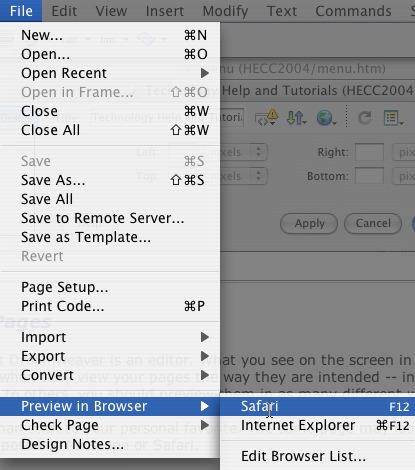
Take note that Dreamweaver is an editor. What you see on the screen in Dreamweaver is not necessarily what users will see when they view your pages the way they are intended -- in a web browser. To see how your files will really look to others, you should preview them in as many different web browser programs as you have access to. You never can know what browser your viewers will be using, so it is best to try to work with all of them rather than stick to your personal favorite. The same page may look completely different in Internet Explorer as opposed to Netscape or Safari.
To preview a page:
1. Click the File Menu and drag down to Preview in Browser. Select your browser of choice from the submenu.
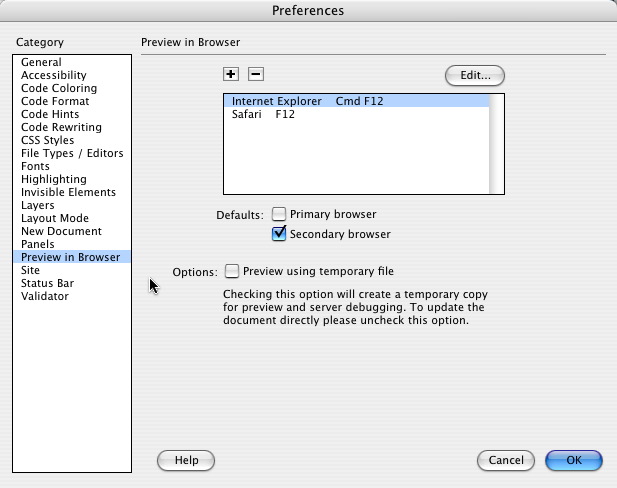
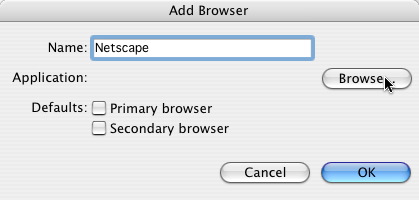
2. If necessary, choose Edit Browser List from this same submenu instead to add browsers installed on your computer to the list. Click the Plus sign (+) to add a browser; click the Minus (-) to delete one.
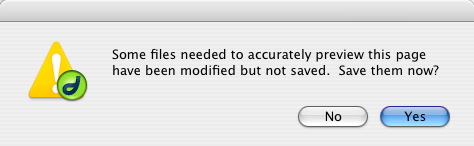
3. Once a preview browser has been chosen, the designated program will open and display your web page. Before this happens, you may be prompted to save the page if you have not already done so.
The Preview in Browser command gives you the ability to see animations and use hyperlinks as if it were already published on the Internet. Make sure everything is working properly!