
Cascading Style Sheets (CSS) Basics
- Getting Started
- Site Management and Templates
- Hyperlinks
- Links and Anchors
- Cascading Style Sheets
- Publishing
- More Resources
- Tables and Divs
- Frame Layouts
- Image Maps
- User-Input Forms
- Spry Widgets
- Pop-Up Menus
- Behaviors
- Images
- Media Elements
- Rollovers
- Video & Multimedia
If you have a site where you would like to keep certain things looking the same, such as font sizes and styles, one way to manage this is with CSS, or cascading style sheets. CSS, in essence, separates style and content, and can be an extremely powerful tool for site management, and while one can have a highly technical discussion of CSS, this tutorial will attempt to show you the "need to know," most useful information in a simple manner. In this way, even those who may never have thought to use such a tool before can get started quickly and easily.
CSS and Accessibility
Another important and useful aspect of CSS is its ability to separate document structure tags from presentation tags, which can grant control over element alignment and positioning. CSS can also allow viewers looking at your pages to override your chosen font, size, and color if they cannot read what the author has chosen for the page. These features, along with the ability to add markers and other embedded content to provide contextual clues within the document, make CSS is great choice for designers creating websites accessible to users with disabilities of all kinds. For more information on CSS and accessibility, consult the World Web Web Consortium at http://www.w3.org/TR/CSS-access.
Style Sheet Basics - the CSS Styles Window
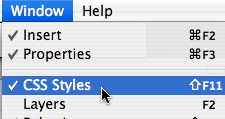
Click the Window menu and choose CSS Styles. The CSS Styles window will open for you, giving you the tools you need to attach or edit the styles available to your pages.
Notice the tools along the bottom right of the window. From left to right, they are used to Attach an existing .css file to the page; Add a new CSS style or style sheet to the page; Edit an existing style; and Delete a file from the page or linked .css file.
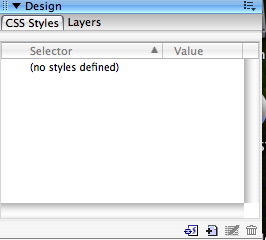
Since we may not have a .css file to work with, let's choose the second button, to Add a New CSS Style to the page. A new window will appear.
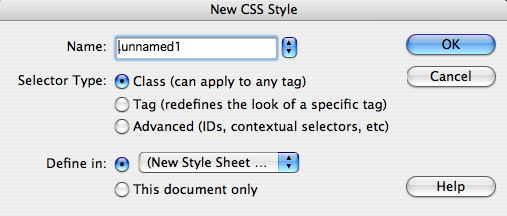
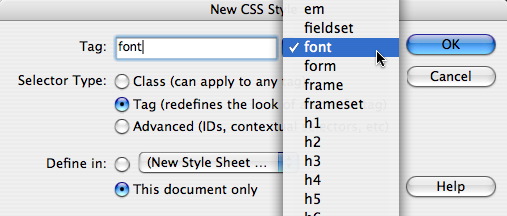
Here you may name your CSS style and choose a type.
Class can be applied to any tag, although it is often reserved for fonts, layers, and table styles. For many web designers, the Class type will be the most commonly used CSS style type. When you have class styles within your page, you can apply them to selected items onscreen by choosing their names from the Style pop-up menu in Dreamweaver's Properties window.
Tag redefines the look of any specific HTML tag, so that whenever that tag is used in the document, the style you specify for it will always be applied. For example, you might set the tag <font> to be a certain font size, style, and color, or you might set the tag <a> so that a yellow hand icon always appears when the mouse floats over a link (links, of course, use the <a> tag). Knowledge of HTML code is useful if you wish to explore the possibilities in applying CSS styles to tags, although Dreamweaver does allow you to pick from a menu of available tags to which CSS styles can be applied.
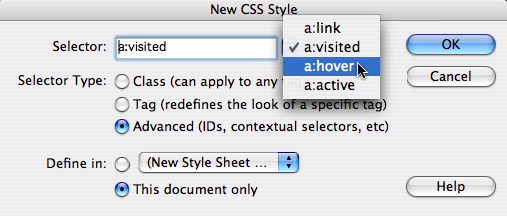
Finally, Advanced can apply a style specifically to links. So, a:link refers to the link before it has been visited or selected; a:visited refers to the style of the link after it has been visited; a:hover allows you to add an effect to links when the mouse is hovering over them; and a:active refers to how the link looks when it's being clicked.
Advanced can also apply to containers for your content - your layers or DIV tags. See the Tables and Layers section for more on setting up pages using DIV containers.
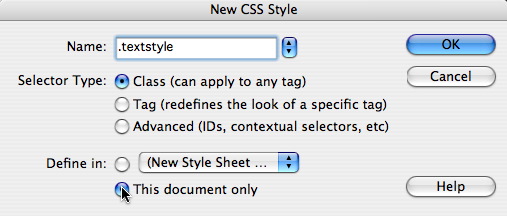
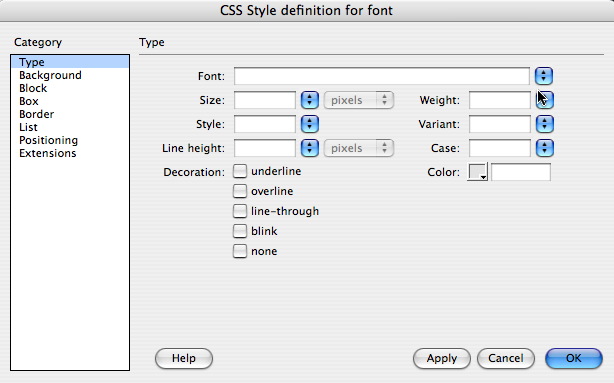
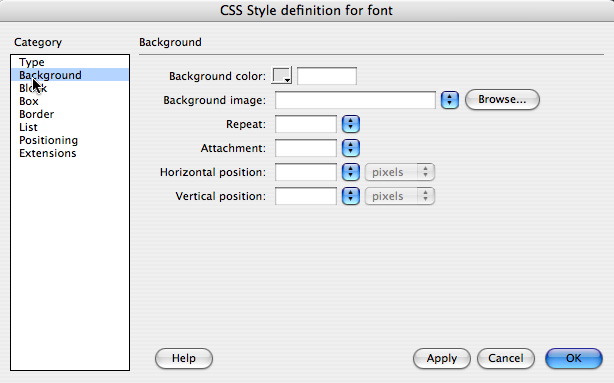
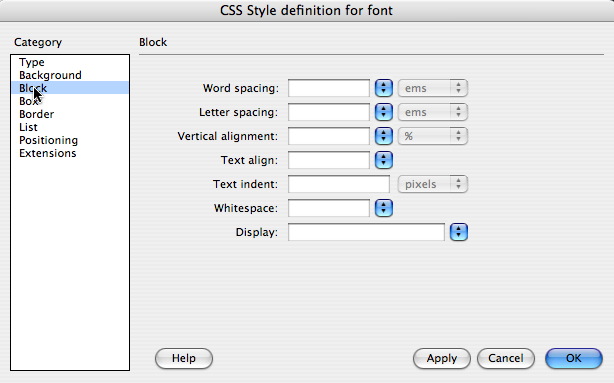
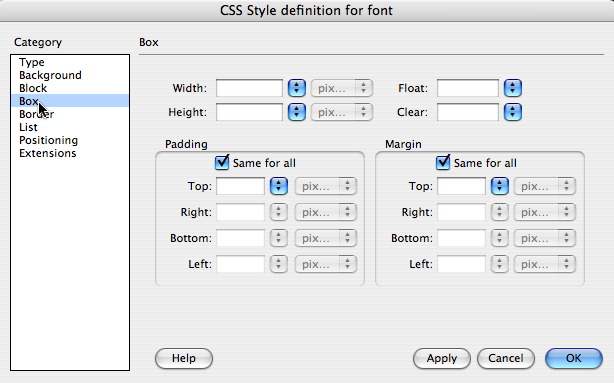
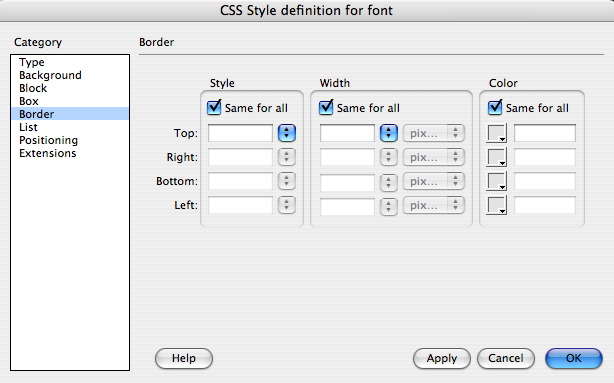
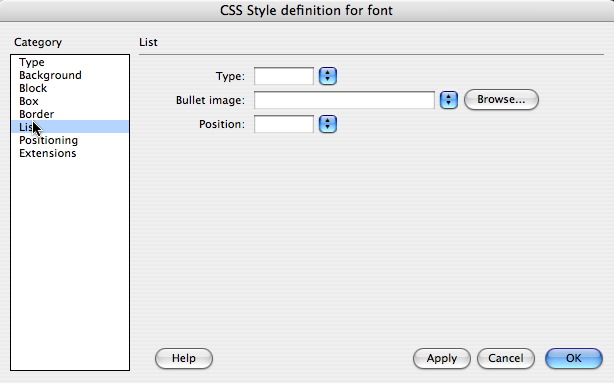
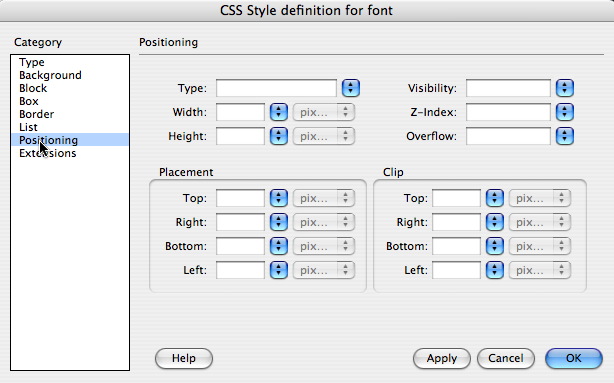
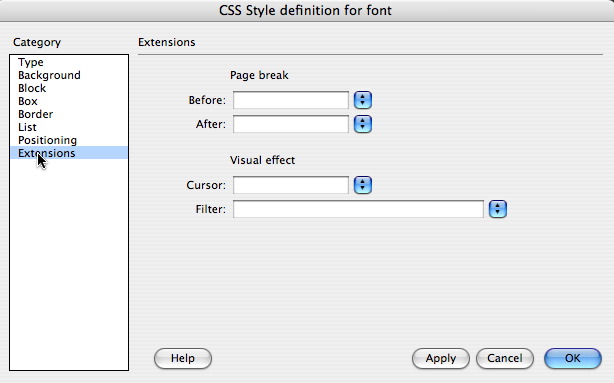
Once you've chosen a type you have the option of defining the style for the current document only or in a new .css file that can be attached to any and all pages within your site. Depending on your needs, choose one and click OK. You will be taken to the CSS Style Definition window that allows you to manipulate many different settings. Some settings will work better for some instances than others; it is wise to explore the various options to see what works for your needs. Most of the items are fairly self-explanatory in their selection and setup.
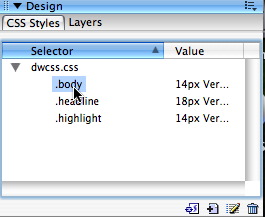
Once you click OK, you will see a new item in your CSS Styles window. At any time, you may double-click on an item, OR click it once and choose the Edit button at the bottom right of your window, in your list to edit it. Double-clicking will place you in the code of the CSS file or the CSS definition within the current page. If you are not comfortable working in HTML code, you may wish to use the Edit button instead; this will return you to the Style Definition window described above.
Editing a style will change any and all items in any pages associated with that style. So, for instance, if you change the a class you've defined to a lot of the text on your page, all text with that style will change to reflect what you've selected. This is extremely handy for times when your site's color scheme or visual style changes, and you need to quickly modify all the text or links or table borders (among other possibilities) to reflect the new look and feel of your site.
Dreamweaver includes many CSS-based file and site templates that provide pre-written CSS files; these can be a great basis for any of your web design projects. You don't even have to keep the same design that the template gives you - you can instead create your own design by modifying the given style sheet in any way you choose, using the tools and methods discussed above in this tutorial.
For some additional templates and more in-depth information about CSS, try these links:
- CSS layout techniques: http://www.glish.com/css/
- CSS Tutorials: http://www.w3schools.com/ css/default.asp
- Another good series of CSS Tutorials: http://www.echoecho.com/css.htm
- And finally, a third good CSS discussion: http://www.csstutorial.net/