
 |
||||||
 |
||||||
 |
||||||
 |
||||||
 |
||||||
 |
||||||
 |
||||||
 |
||||||
 |
||||||
 |
||||||
 |
||||||
Adding Images and Media
Images
Rollover Images
Other Media
Inserting images and media elements (Flash movies, Fireworks menus, and so forth) into your Web documents is easy with Dreamweaver.
Special Note
Also, note that all of your image and media files MUST
be copied into your web directory in order for them to work properly.
This cannot be stressed enough with any web page editing program, and Dreamweaver
is no exception. Please see Publishing Your Pages for
more information.
1. Place your cursor where you want the picture to appear in your document. Click the Insert menu, then click Image.
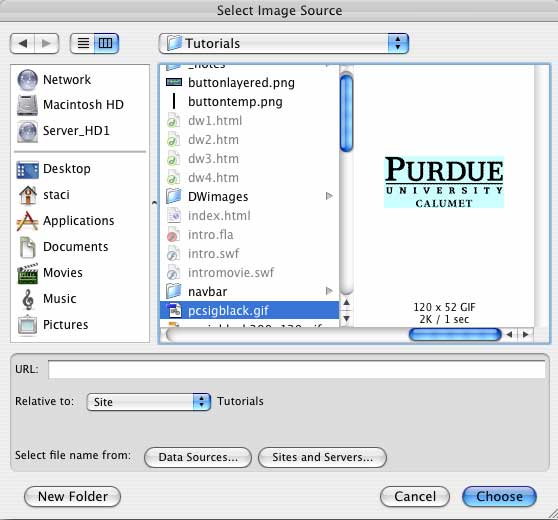
2. You will be asked to locate your image on your computer. Find it, click Choose, and the image will appear on your Dreamweaver page.
3. Note that your Properties window will change when you click on the inserted image. Dreamweaver allows you to change size, alignment, cropping, border, and link settings for the image from the Properties window. You may also edit the file in Fireworks if it is installed on your computer.
Remember that you may only use GIF, PNG, or JPG images in your web pages! Other types of image files will not be available to Dreamweaver. This rule applies to all other web page editing programs also.
A rollover image is one that appears in the web browser as one image, but when the mouse cursor is dragged over the image, the image changes to a different one. This is a fun effect that is very simple to accomplish.
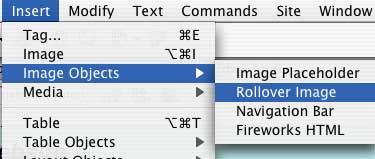
1. Click the Insert menu, drag down to Image Objects, and choose Rollover Image from the submenu.

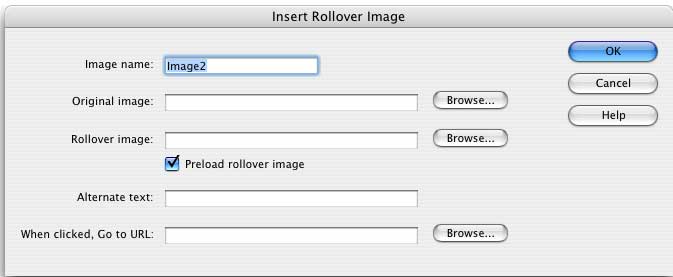
2. The Insert Rollover Image window will appear. You may choose two image files -- the one that appears initially, and the one the appears during rollover -- using the same methods as above. In this screen, you may also designate a URL or web page link that will be opened when the user clicks on the image.
3. Click OK and your first image will appear on your Dreamweaver page. To see your rollover "in action," you must view the file in Internet Explorer, Safari, Netscape, or another web browser.
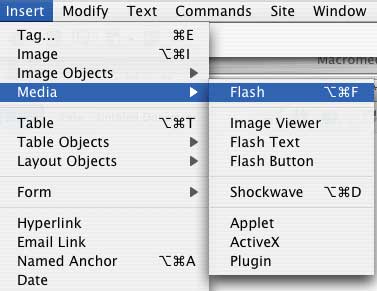
1. To insert media files created in other programs, click the Insert menu, drag down to Media, and choose the appropriate tool from the submenu, depending on your application.
The Insert Media submenu contains options for adding Flash, Shockwave/Director, Java, and other advanced files into your pages. Inserting media is considered an advanced application of Dreamweaver and usually requires that you have access to other Adobe software programs. However, you are encouraged to experiment with the media options in Dreamweaver, as many different kinds of royalty-free media files can be downloaded from the Internet.
For an overview and some resources for some of these media types, go to Sound and Video on the Web.
Tutorials composed by Anastasia Trekes Milligan, © 2005-2008


