Basic Graphic Editing with Photoshop
- Getting Started with Photoshop
- Basic Image Editing Tools and Tips
- Using Layers and Masks
- Creating Web Graphics
- Exporting Images for Specific Purposes
Photoshop is a great choice for general-purpose graphic editing, as there are many things that can be done within the program to improve the look and quality of your images. For example, perhaps you have a photo where the flash was too harsh, and you see "red-eye" on your subjects. Or, perhaps there are too many shadows on an important part of the picture that could be enhanced with sharpening or lightening. The following tutorial is not meant to be an exhaustive list of all of Photoshop's editing features; instead, it is intended to give an overview of the most useful tools available so that even those who are new to the program can easily achieve the effects they want.
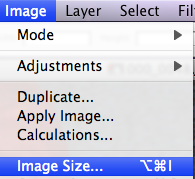
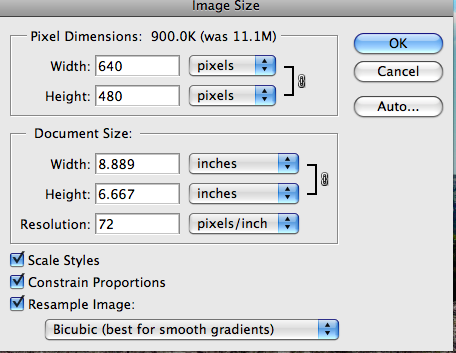
Image and Canvas Size Altering
To edit the size of an image, click the Image menu, and choose Image Size. You will be able to change the height and/or width of your image without distorting it, by ensuring that "Constrain Proportions" is checked.
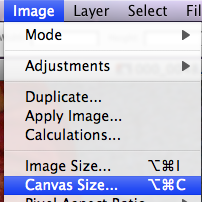
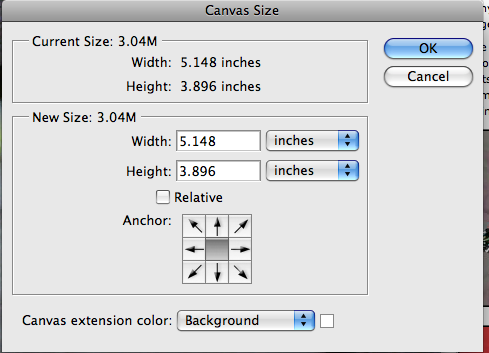
To edit the size of the canvas, so that you can add text or additional images to a document and arrange them the way you wish, click the Image menu and choose Canvas Size. You can choose the type of measurement used to define the canvas size, so if you work better with one measurement type over another, you may choose it if you wish.
Rotating
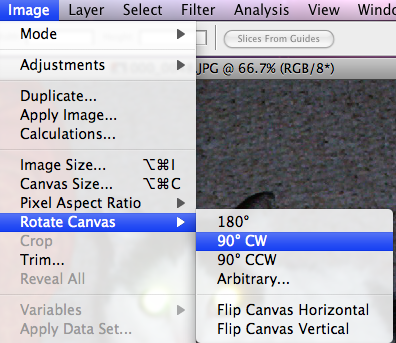
To change the orientation of an image, click the Image menu and drag down to Rotate Canvas to make your selection from the submenu. You can rotate your image 180, 90, or any arbitrary number of degrees you choose, or you can flip the picture horizontally or vertically.
Cropping/Trimming
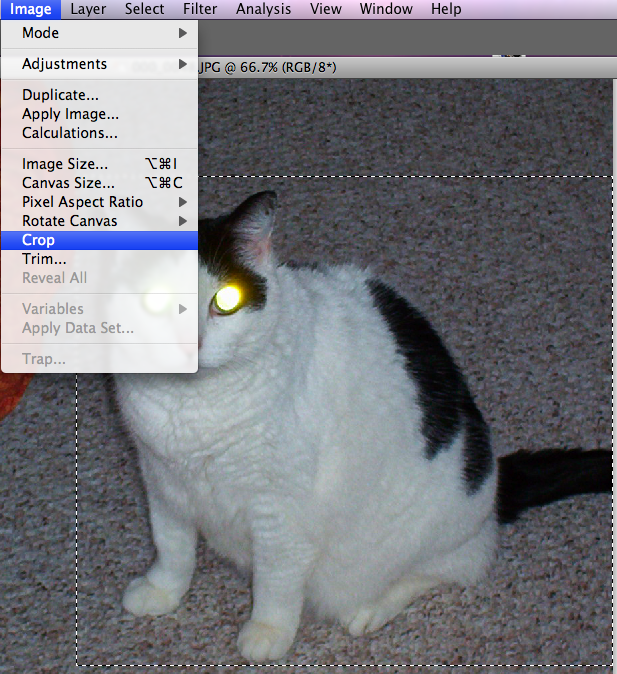
Use the Marquee, Lasso, or Magic Wand tools (see the Getting Started Tutorial, or float your mouse over the tools window on the left-hand side of your Photoshop workspace until you find these tools) to select the portion of your image you would like to keep. Then, from the Image Menu, you can select Crop to crop off the excess.
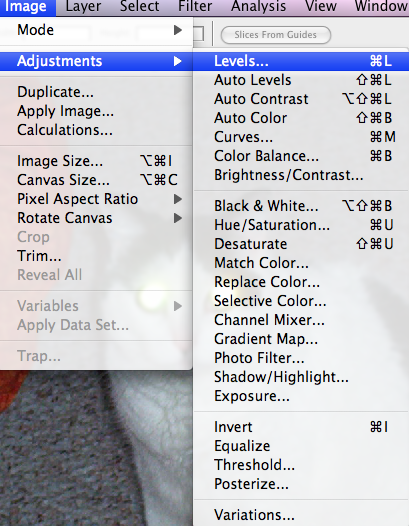
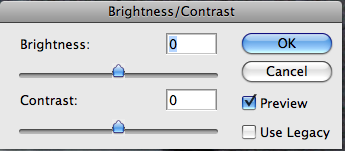
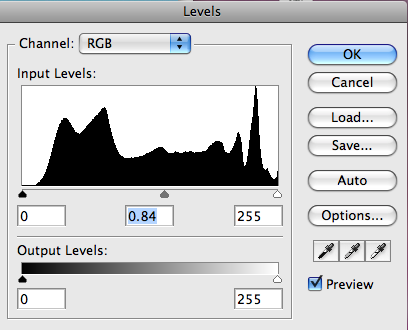
Adjustments
The Image menu has a series of Adjustments in their own submenu, including adjustments for color, lighting, contrast, and Exposure. Each Adjustment is performed through one or more slider bars that allow you to preview your changes before saving them, or you can choose to let Photoshop attempt to automatically adjust certain levels for you. It is a good idea to experiment with the Adjustments when you have a picture that did not quite come out the way you intended.
Adding Text
Text is added with the Text tool (the "T" icon on your Tools window at the left). Click this tool, then click in your document to start adding text captions or titles to your images. You can also Click and hold on the T tool to use vertical text or text mask effects.
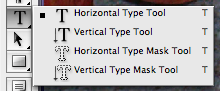

Notice that when you begin to add text, your Options toolbar across the top of your workspace changes. This Options toolbar changes to accommodate whatever tool you are using, and provides all the commands necessary to customize the tool for your needs. So, in the Text tool, you will notice that you have control over the typeface, font size, style, orientation, and color - experiment to try new effects!
![]()
Filters
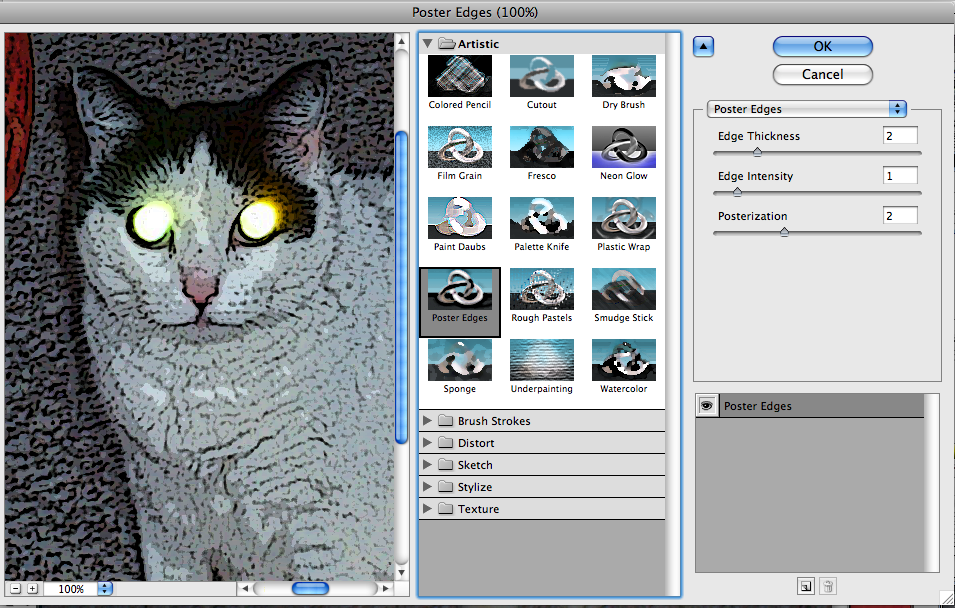
The ability to apply a wide array of useful filters is one of the great strengths of Photoshop - and it's a lot of fun as well! Under the Filter menu, you will find a wide array of filters, each with their own unique abilities. For example, the Artistic submenu provides access to several artistic effects such as "poster edges" and "watercolor," to help you apply an interesting new look to your images. Each of the filters available in Photoshop show you a preview of what the image will look like when your chosen effect is applied, and most have adjustments within them to fine-tune the filter to the maximum.

Styles and Colors
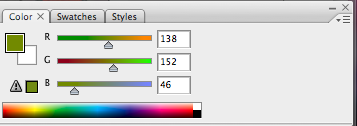
Fill colors and gradients can be applied to any area of your photograph that is selected with the marquee, lasso, or magic wand tool. For example, a logo on white background can be placed on a dark background by selecting the background with the Magic Wand, choosing a dark color from the Colors Window, selecting the Paint Bucket Tool, and clicking on the selected area.
![]()
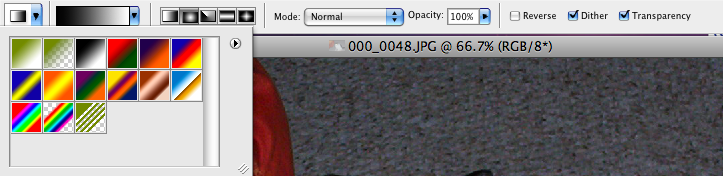
Clicking and holding the Paint Bucket Tool will give you the option to select a gradient effect. In the Options toolbar, you can select the type and color of your gradient, then click and drag in a selected area of your photo to set the gradient.
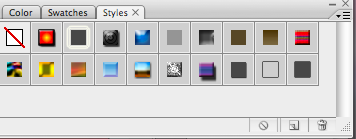
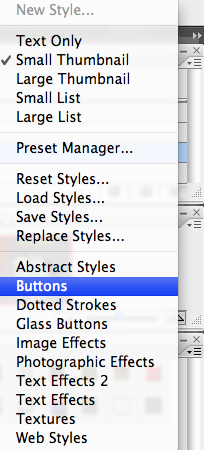
Styles can be selected from the Styles window, which normally seen as a tab alongside the Colors window, or it can be brought up from the Window menu. Styles are preset image effects designed by Adobe, and clicking the small "see more" button on the upper right-hand corner of the Styles window will bring up additional styles not included in the program by default.
Spot Editing with the Healing Brush
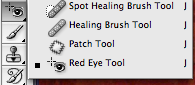
The Healing Brush is a very useful tool for small adjustments in a photograph. Click and hold the Healing Brush tool from the Tools menu to choose from either the spot healing brush, the normal healing brush, the patch tool, or the redeye remover. The healing brushes and patch tools all work on the same principle: Option-click on an area of your photo to "pick up" a section, then click normally to fill that selection into damaged or undesirable sections to match and blend the photograph. These tools are excellent for cleaning up old photographs, removing scratches or smudges from a scanned image, or cleaning up image flaws. To refine the size of the healing brush cursor and to change how the tool will sample the photo, don't forget to look to the Options toolbar at the top of your workspace.
The redeye remover tool uses color sampling to remove the bright red effect that sometimes occurs in the pupils of people when their photo is taken with a flash camera. Simply choose the redeye remover tool and click in the center of the affected pupils to remove redeye.
![]()
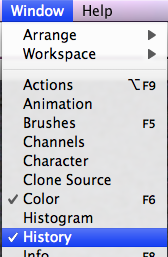
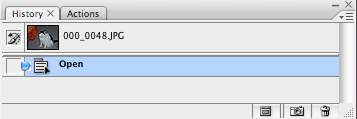
History Window
If at any time you'd like to go back to a previous version of your image, or if you made a mistake you'd like to undo, you can use the History window (Window menu -> History) to scroll through your previous commands and revisit any of them. Instead of the typical Control/Command-Z undo, Photoshop uses this method instead to allow you to see exactly what you did at each step, and gives you the option to revert as far back as necessary with one click.