Using Masks and Layers in Photoshop
- Getting Started with Photoshop
- Basic Image Editing Tools and Tips
- Using Layers and Masks
- Creating Web Graphics
- Exporting Images for Specific Purposes
Photoshop utilizes layers, so that each element of an image can be contained on its own transparent layer that can then be manipulated separately from the rest of the document. Layers build on each other, so the layer at the bottom of the list is the final layer, usually the background of a picture, and the others build one on top of the next to create the finished product that you see.
With the use of layers comes a technique known as masking, which allows you to block out one area of an image or protect it from manipulation while you work on another section. You can create masks on individual layers using the painting tools (when working with bitmap graphics) or the polygon tool (when working with vector graphics).
Using the Layers Window
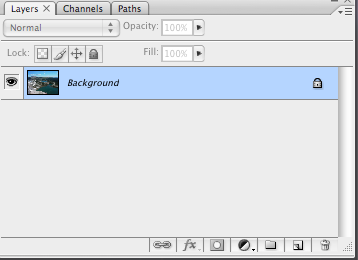
The Layers window allows you to see, manipulate, add, and delete all of the layers in your Photoshop documents. In more workspaces, you will find the Layers window on the right-hand side of your screen; however, if it is closed or if you want to quickly bring it to the forefront, choose Layers from the Window menu to do so.
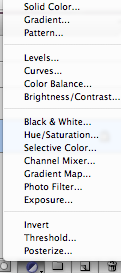
All graphics have at least one layer, the Background layer. You can paint, draw, and create fills on your background layer directly, but you run the risk of ruining your image in doing so. To edit an image non-destructively, you can add a new Adjustment layer to help you correct problems such as overexposure or color issues on a photograph, or add colorful overlays or new effects to the image. To add an Adjustment layer, click the Adjustment layer button at the bottom of the Layers window, then choose the type of adjustment you want to make. For example, if you have an overexposed photograph, you can try the Levels adjustment and change the sliders until you get a photo that is more to your liking.
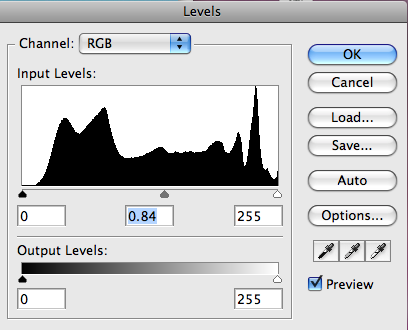
Note that with the Levels window, as well as most other adjustment panels, you get a preview of what your change will do to your image as you make the change. Thus, you do not have to continually undo and try again.
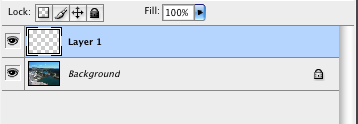
If you wish to add text or other images to the background layer to create a customized image, you can create a new blank layer to work in. To do this, click the New Layer button in the Layers window. You will see a new untitled layer appear at the top of your layers list, that you may click on to work in if you wish. The blue highlighted layer is the one in which you are currently working, so you always have visual reference of where you are. You may add as many layers as you like to any graphic, at any time, and new blocks of text automatically add new layers for convenience. Some designers like to keep each element of an image on a separate layer to avoid confusing them or accidentally ruining a project.
![]()
Note that clicking the eye on the left-hand side of a layer will "hide" it from sight so that you can work with one layer at a time, if you desire. You can click the empty square the eye leaves behind to bring the layer into view again. Also, along the top of the layers list you have the options to lock the layer from editing or change the fill opacity so that the layer is opaque, completely transparent, or somewhere in between.
Creating a Layer Mask
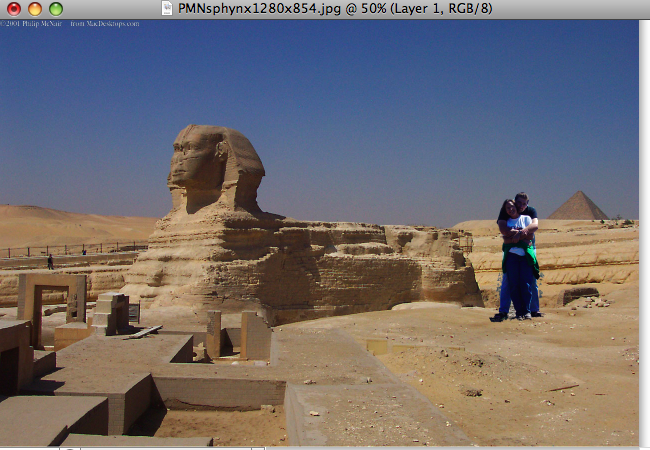
A common use of Photoshop is to use masks to remove something from image and meld it into another. For example, if you want to take a photo of someone and make it look like they are standing in front of the Great Sphinx at Giza, all you need is a good photo of the person, a picture of the Sphinx, and some handy layer mask magic! For this tutorial, we will use the Sphinx photo as an example, but the skills used here can be applied to almost any photo collage application.
1. Open both of the photos so that they are in separate windows in Photoshop.

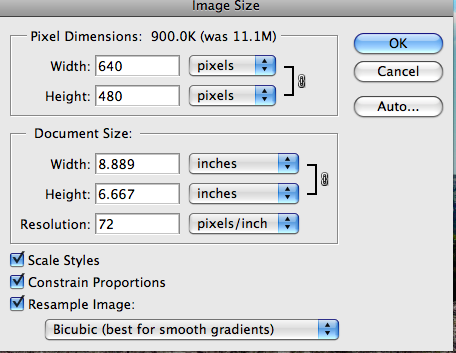
2. Click and drag the image you want to add in on top of the image that will become the background. A new layer will be added to the background document. Note that if the two images do not have the same size or resolution, the larger one will obscure the other. To counteract this, resize the larger image first; in this example, the photograph of the people is much larger than the one of the Sphinx, so I will first resize it so that it will be easier to work with on the Sphinx photo. You may have to experiment with sizes until you get to a workable one.


3. Set the foreground color to black. You can do this very quickly by clicking the small black and white double square just above the Foreground color box, in the Tools window.
![]()
4. In the Layers window, click the Layer Mask button. A white layer mask will appear in the layers palette, in the new layer you created. At this point, you can click in the Layer Mask and do any editing to the brightness, contrast, and harsh edges on your image. For example, you can use the Adjustment tools in the Image menu, or you can apply a Gradient with the Gradient tool to soften portions of the image so they will blend into the other image.
![]()
![]()
5. Once you are finished editing the mask, though, you may also need to do some cropping on your top image, so you will have to make sure your top layer is selected by clicking on it, then choose the Filter menu, and select Extract.
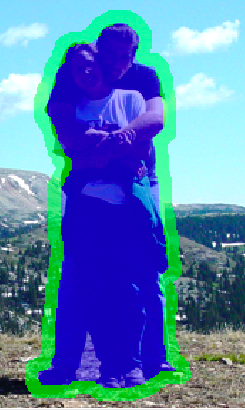
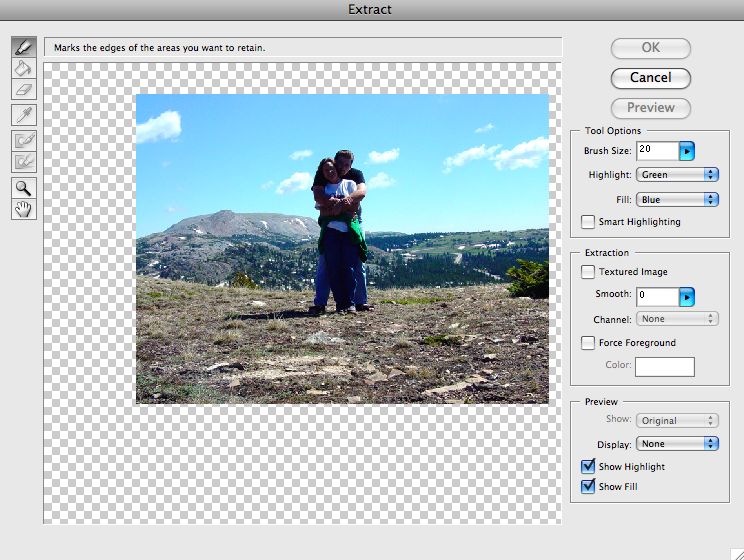
6. The Extract filter allows you to select certain portions of images and leave the rest behind. When the Extract window appears, you may wish to use the Zoom and Hand tools to help you get a good view of your subject. Then, use the Highlighter tool to draw the outline of your subject, being as careful as possible to get a good, close outline. You can always undo or cancel and start the Extract filter again if you make a mistake, of course. The settings on the right will allow you to change the size of your highlighter brush and help with creating a smooth extraction.
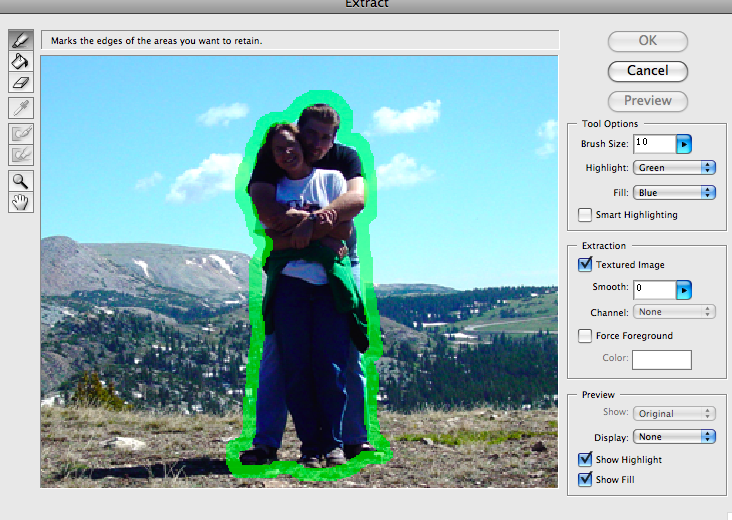
7. Once you have your outline, click the Paint Bucket tool in the Extract window and click inside your highlighted subject. If everything turns blue that you intended, click OK. If not, undo your highlighting and try again. Once you have your extracted subject, you will see it in the document, and it can be moved with the Move tool to put it just in the right place!