
Clipart
- Navigate to:
- Word Basics
- Fonts and Styles
- Basic Text Formatting
- Clipart
- Tables
- Columns
- Headers and Footers
- Using Mail/Data Merge
- Video: Mail Merge on the Macintosh
- Video: Mail Merge in Windows
- Reviewing and Editing Documents
Inserting Clipart
WordArt and AutoShapes
Formatting Images
Inserting Clipart
The Microsoft Office programs contain a shared gallery of clipart, sound clips, and animations that you may use in the Word, PowerPoint, Excel, and other Office documents freely. Note that when installing Microsoft Office for the first time, you may choose whether to install some or all of the available clipart. You can always use your Office installation CD's to install additional clipart at a later time if you choose just the basic gallery at first.
To insert Clipart images into any of the Office programs, follow these simple steps:
1. Click the Insert Menu, drag down to Picture, and in the submenu click Clip Art.
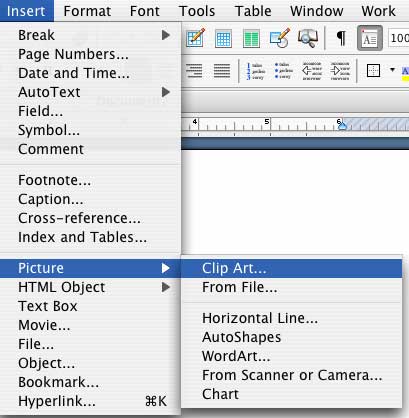
2. The Clip Art Gallery is divided into different categories for easy viewing, but you may also type in a keyword in the Search box the top of the window to search for a particular picture.

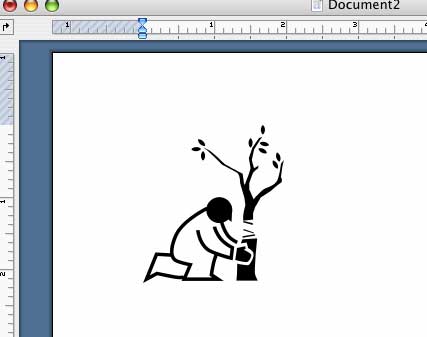
3. When you find an image you like, click on it, then click Insert to place it into your document.
Special Note: If you cannot find a suitable image, you can click the Online button at the bottom of the Clip Art Gallery to be taken to Microsoft's online gallery, where even more pictures, movies, and sounds may be found and downloaded into your computer. The website changes periodically with new additions to the library, but it is easy to use and guides the user through each step. (Note that you must have an Internet connection to take advantage of this feature.)
WordArt and AutoShapes
The Office programs can also insert stylized text and graphics into your documents, which are treated like clipart or other images. These are known as WordArt (text) and Autoshapes (figures and graphics).
WordArt
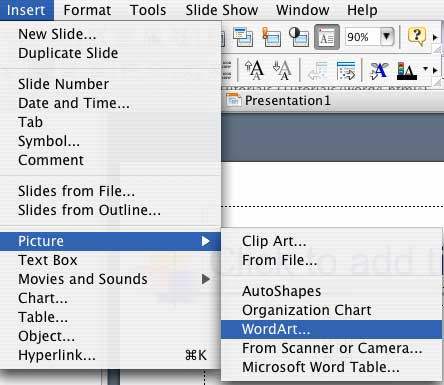
1. Click the Insert menu, drag down to Picture, and choose WordArt from the submenu.
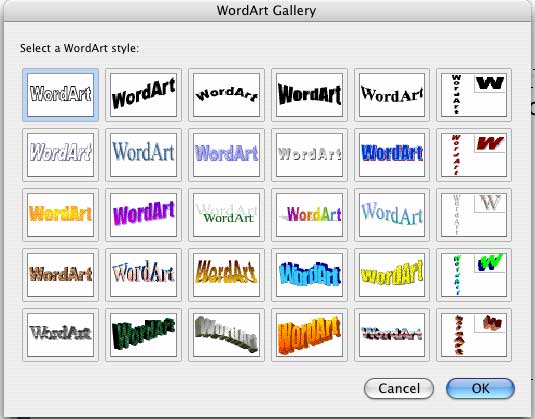
2. Click on the style of WordArt that you desire, then click OK to continue.
3. Type the text that will appear as your WordArt. Here you may also choose a font and text size as well.
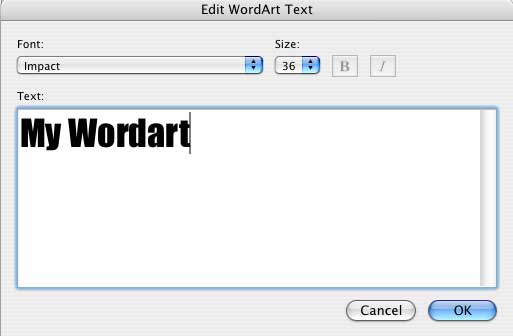
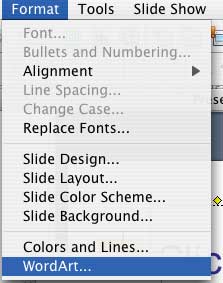
4. When you are ready, click OK and your WordArt will appear in your document. Double-click the WordArt to change your text, or click and drag to move it around the screen. Click on the WordArt element to select it, then click the Format menu, then choose WordArt to further modify your WordArt.

AutoShapes
1. Click the Insert menu, drag down to Picture, and choose AutoShapes from the submenu.
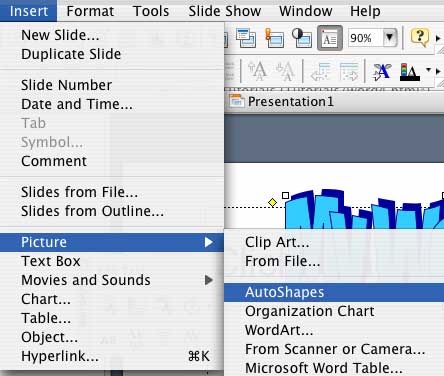
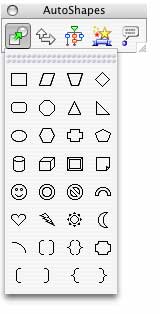
2. The Autoshapes toolbar will appear on your screen. This toolbar contains several categories of autoshapes, which you may browse through by clicking on any of the toolbar buttons. When you find an autoshape that suits you, click on it in the sub-toolbar and it will appear in your document.
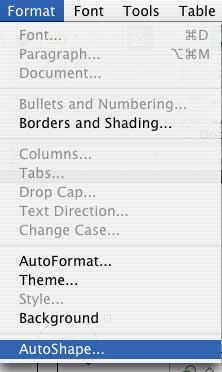
3. You are free to modify your AutoShape as if it were any other type of clipart by selecting it, then clicking the Format menu and choosing AutoShape.

Formatting Images in the Document
1. To change the size, wrapping, or other aspects of an inserted image in your Word, Excel, or PowerPoint document, first double-click on the image.
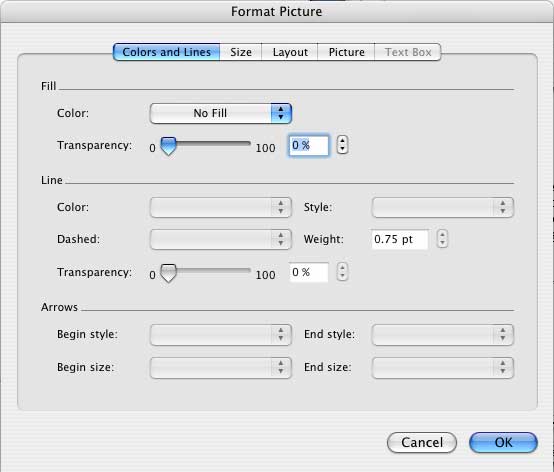
2. You will be presented with the Format Picture window, which contains several tabs for letting you manipulate various aspects of your picture.
3. The first tab you will normally see is the Colors and Lines tab. Here you may change the background color in your picture, as well as add a border around it.
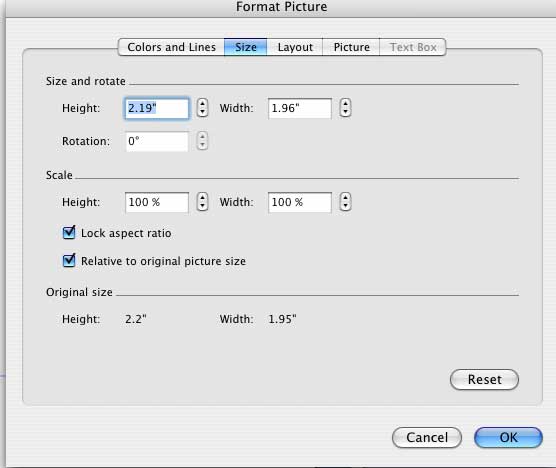
4. The next tab is the Size tab. Here you may change the size of the picture as it appears in your document. Make sure to keep the Lock Aspect Ratio checkbox selected if you do not wish to distort the image.
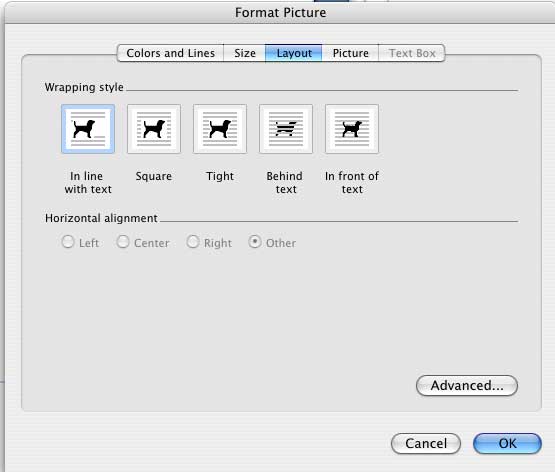
5. The Layout tab allows you to change how the picture appears on the page in relation to your text. You may place the image next to, on top of, behind, or inside of text. Note that if you choose Above or Behind Text, you will be able to drag the picture freely around the page without interfering with the placement of your text, while In line with text, Square, and Tight will place the text around the image accordingly, and may change your line and paragraph formatting.
6. Finally, the Picture tab allows you to crop portions of the image and to change the brightness and contract. These Image Control tools are useful for making your picture into a lighter background or watermark image.
