
Using Mail Merge
- Navigate to:
- Word Basics
- Fonts and Styles
- Basic Text Formatting
- Clipart
- Tables
- Columns
- Headers and Footers
- Using Mail/Data Merge
- Video: Mail Merge on the Macintosh
- Video: Mail Merge in Windows
- Reviewing and Editing Documents
Word version 2007 and above (Windows 8/7/Vista/XP)
Word version 2011 and below (Macintosh OS X)
Word version XP/2003 (Windows XP/2000)
Mail merge, sometimes called data merge, allows the user to create form letters, labels, or envelopes easily by inserting, or "merging" information from a database file into your word processing document. The result is a file or printout of the label, envelope, or letter for each record in your database. Uses for mail merge include progress reports, Christmas cards, and mass mailing labels and envelopes. Microsoft Word can merge data from files created in:
- Microsoft Excel
- Microsoft Access
- Microsoft Word (tables)
- FileMaker Pro
Mail Merge in Word 2007 for Windows
1. To begin, open a new or existing Word document that you would like to merge with a data file to create letters, labels, or envelopes.
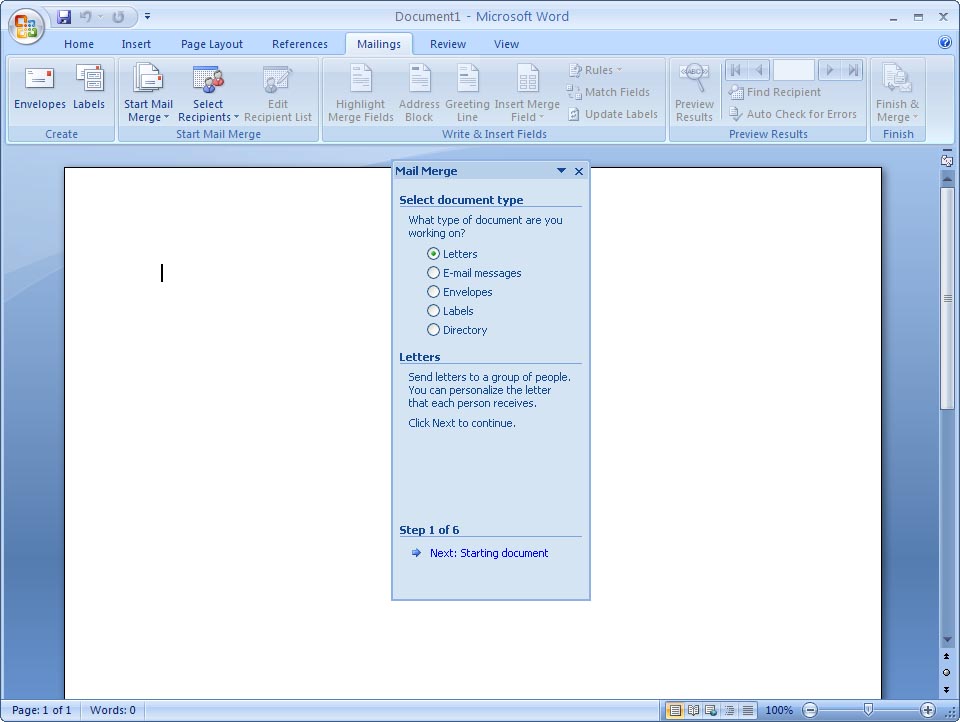
2. Click the Mailings Tab, found along your Word 2007 toolbar at the top of your screen. The first step in using the Mailings tab is to start the mail merge, so click the Start Mail Merge button, and choose the type of document that you are working with (a letter/newsletter, envelopes, labels, and so forth). You can even use the Mail Merge wizard if you like, and be guided through each step, one at a time.

3. Using the Mail Merge Wizard takes you through the tasks that each button in the Mailings tab can also take you through manually. It is your choice which route you take. The screens below will show you the guided, Wizard approach. So, if you use the Wizard, you will be asked to choose your document type, then click the Next arrow to continue.
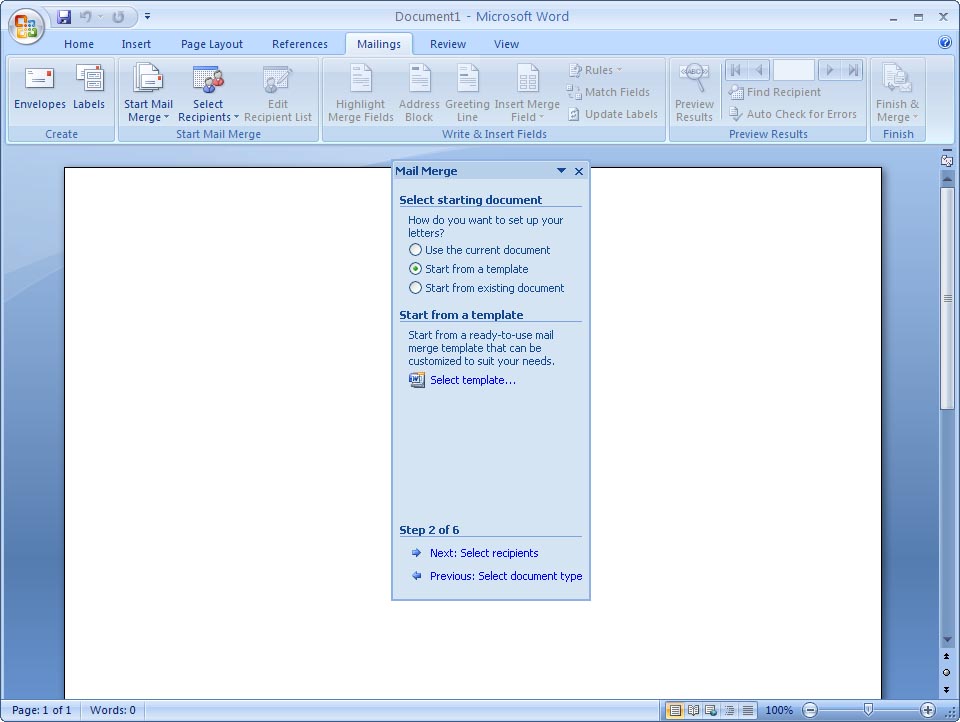
4. The next step is to select the starting document you wish to use. This can be a document that you have already been working on, such as a newsletter file, or it can be the document you are currently working with, or even a template selected from the various choices available in Word. Choose to Use the Current Document in most cases, especially if you are preparing something like your school newsletter and are finishing it up by completing your mail merge requirement.
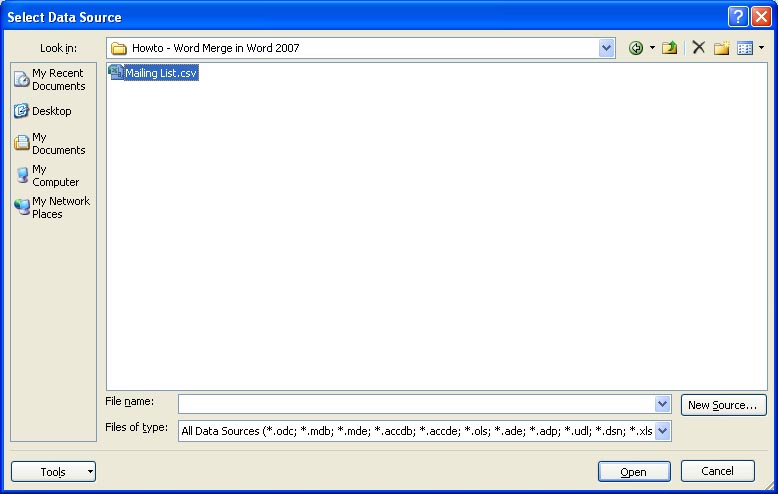
5. In Step 3, you must choose your "recipient list," or the data you will use to merge into your document. In the case of a student newsletter, this will be an existing list, such as the Excel spreadsheet file you might use to contain your student information and gradebook. Browse for this document on your computer and review the data to ensure that it is the document you want, and that the information is coming in completely and correctly.
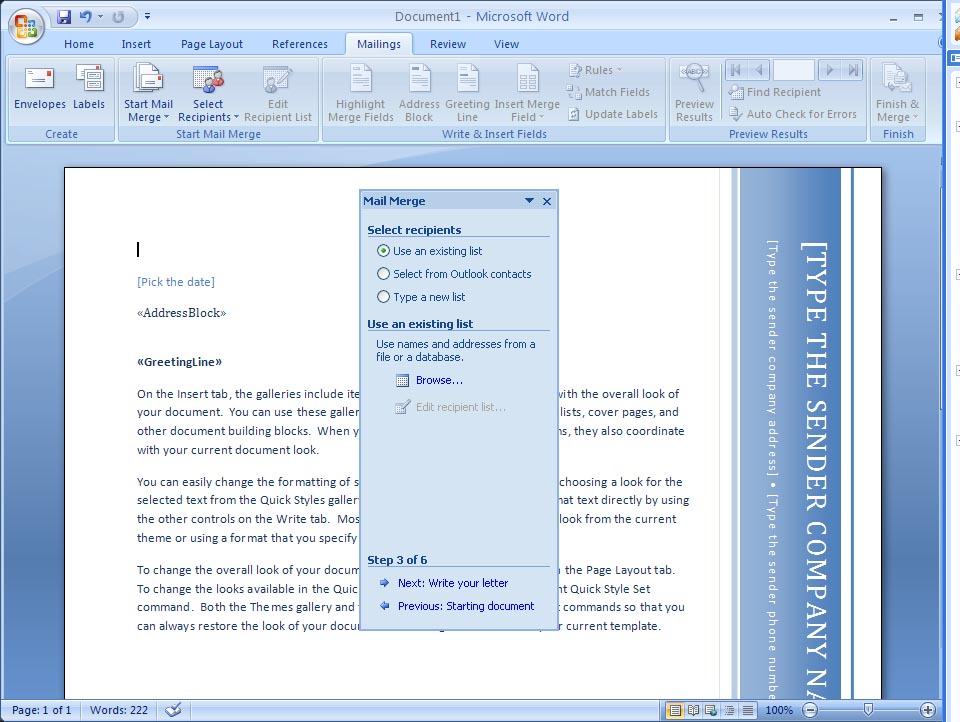
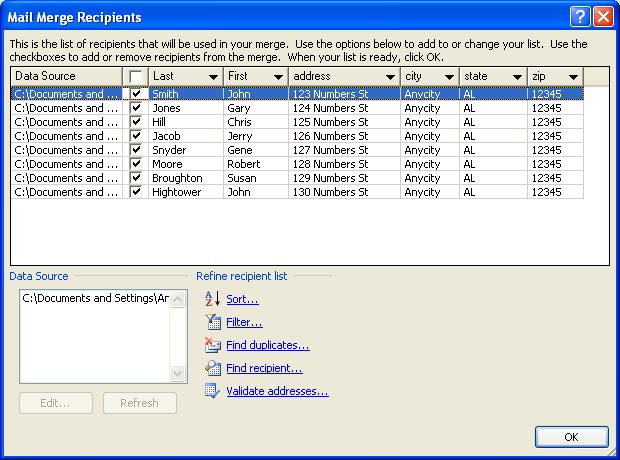
Note: If you choose to create a new data source, you will be presented with a new window where you may choose and edit a list of given fields, then add names and other information as needed. When ready, click OK and save the new data source.
6. Next, you can take the time to review your letter's content and insert the merge fields from your spreadsheet into the places in your newsletter where you would like that data to appear. For example, you might have a Student Name field, so you might place your cursor after the greeting, "Dear <blank>" in your newsletter and click in the Mail Merge wizard window to add the Student Name Field. In this way, you can have lines like "Dear <<Student Name>>" and "Your child received a grade of <<Grade>>" within your newsletter, where the items within carats <<>> will become individualized data from your data source.

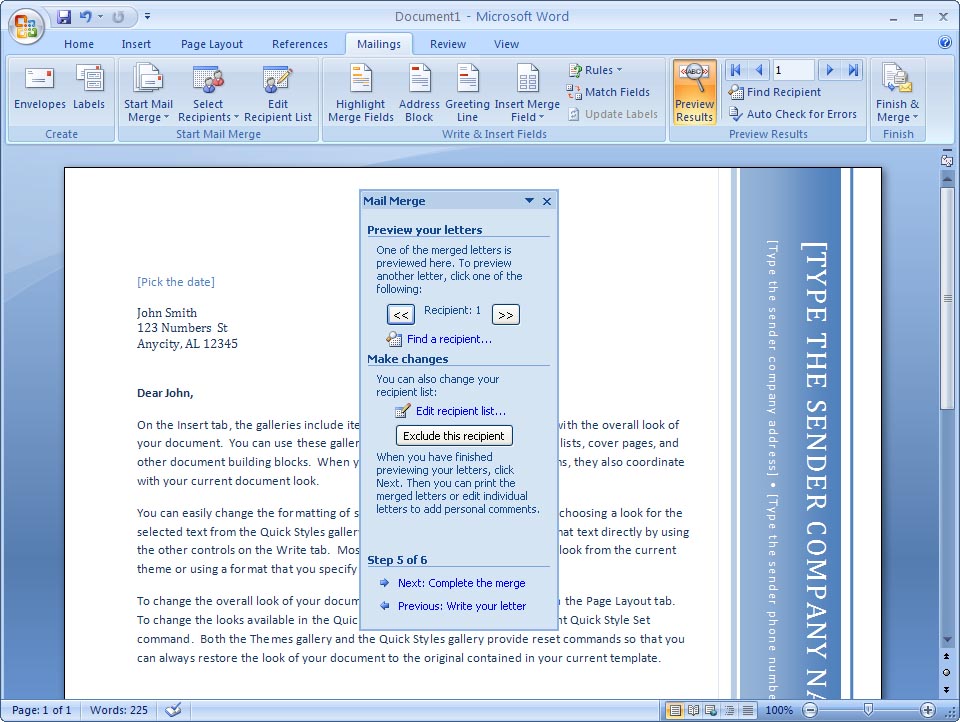
7. In Step 5 you may take the opportunity to preview your letters, one at a time, and see if you are happy with what the final results will be. If not, edit accordingly.
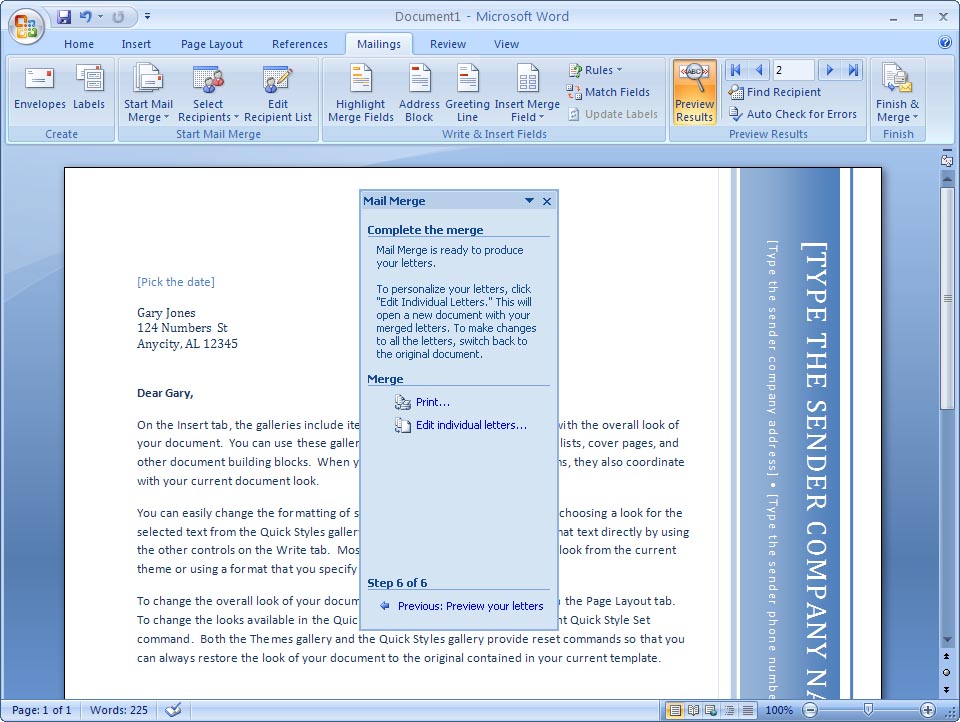
8. The Final step is to Merge the two documents together to receive a final copy of each letter, one for each recipient in your data source. Choosing to Merge to the printer will print each document to your available printer, which may not be something you wish to do immediately. It is recommended to choose "Edit Individual Letters" instead, which gives you a single final document in which you will be able to review each letter, as well as save the entire document for later use (or for turning in as an assignment).
Video demonstrations of the mail merge process in Word 2007 are available in several locations on the Internet, such as this one available at YouTube: http://www.youtube.com/watch?v=Ty5XlSrHGXQ. If you are having trouble with this operation, this video will show you the process graphically, step by step.
Mail Merge in Word for Macintosh 2011/2008/2004
1. To begin, open a new or existing Word document that you would like to merge with a data file to create letters, labels, or envelopes.
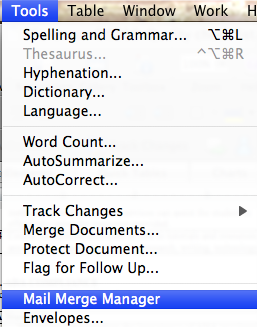
2. Click the Tools menu, then choose Mail Merge Manager).
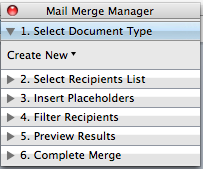
3. The Mail Merge Manager window will appear onscreen. This is a "floating" window, meaning that you may work with it as you work with your document just as you would a toolbar.
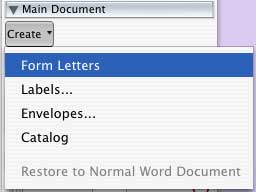
4. At the top of the Mail Merge Manager, under the Main Document heading, click the Create menu and choose the type of document you intend to create. From this point onward, your current document will be identified as the type you specified, unless you return to Create and choose "Restore to Normal Word Document".
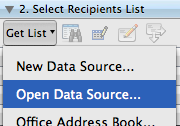
5. Under the Data Source heading, click Get Data and choose whether you want to open an existing Access, Excel, Word, or FileMaker document, or if you wish to create a new data source in Word. For example, if you are working on a school newsletter, you may have an Excel spreadsheet where student names, information, and grades are kept.
Note: If you choose to create a new data source, you will be presented with a new window where you may choose and edit a list of given fields. When ready, click OK and save the new data source.
6. Whether you use an existing data source or create a new one, when you return to your Word document the Data Merge Manager will change. Under the Insert Placeholders heading, you will find all of the field names associated with your data source.
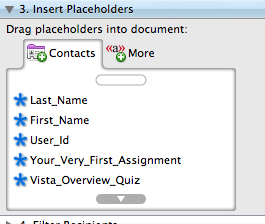
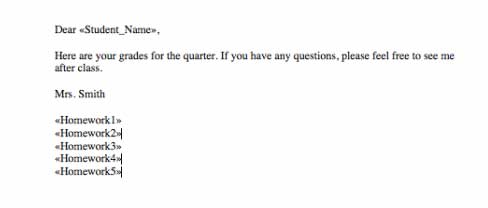
7. Drag fields from the Mail Merge Manager into your document into locations where the data should be displayed. Note that, initially, you will not see the actual data from your database. Instead you will see the field names surrounded by brackets, as shown below.
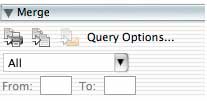
8. When the document is ready, look under the Merge heading at the bottom of the Data Merge Manager. Depending on the button you click, you may merge to the printer, to a new document, or to an email program. No matter which merge option you choose, you will receive a copy of your Word document for each record in your database, with the correct data filled in at the locations you specified in Step 7 above.
Using Word XP/2003 and the Mail Merge Toolbar
Word XP and above for Windows performs the mail merge function in a very similar fashion as in previous versions. However, instead of a Data Merge Manager, Word XP and 2003 use a Mail Merge Toolbar, making the interface and onscreen commands slightly different.
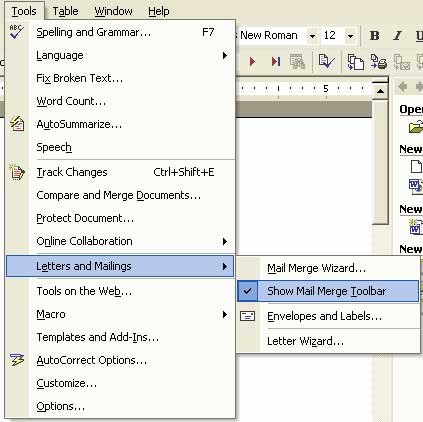
1. To access the Mail Merge Toolbar, click the Tools menu at the top of the screen, drag down to Letters and Mailings, then choose Show Mail Merge Toolbar from the submenu. The toolbar will appear underneath your other chosen toolbars, above your Word document.
![]()
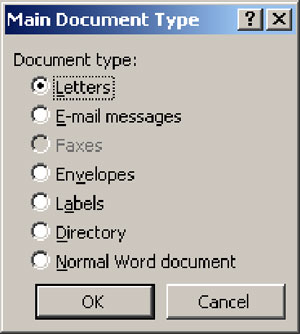
2. The Mail Merge toolbar contains the same essential features as seen in the Data Merge Manager of previous Word versions. To begin, click the tool at the very left position (Main Document button) on the toolbar to choose the type of document you will create (letters, labels, etc.).
![]()
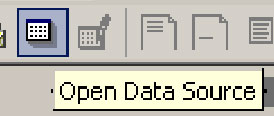
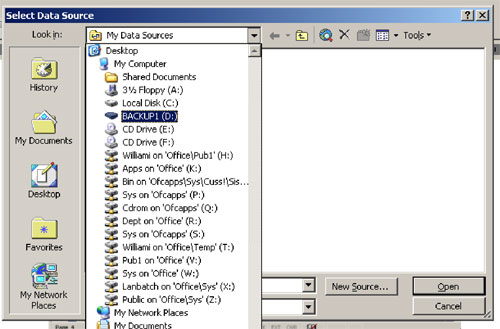
3. Next, click the second tool on the toolbar to open a data source. This will allow you to tell Word where to find your spreadsheet database and the information contained within. Locate your data source on your computer and click Open when ready. In the case of spreadsheets, you will be asked to select a "sheet" - most often you will choose Sheet 1, unless you know that your data is contained on a different sheet in the spreadsheet.
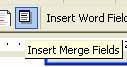
4. To begin inserting data fields from your data source into your document, click the Insert Merge Fields button, just to the left of the Insert Word Field menu. (NOTE: Insert Word Field inserts database programming into your document and is likely not going to be a feature you will use. Make sure you are clicking the button just to the RIGHT of "Insert Word Field".)
5. You will be presented with a floating window containing all of the available fields in your data source document. Click on the desired location within your document, then click the field name in the Insert Merge Field window, and click Insert to place the field. As in other versions of Word, you will see the field names surrounded by brackets (i.e., <<Name>>) within your text. When you are finished inserting fields you may close this window.

6. Finally, merge the letters, envelopes, or labels to a new document, to the printer, or to an email program using the tools on the far right of the Mail Merge toolbar. For most users, merging to a New Document will be the most flexible and most favorable option, as it allows for printing any or all of the letters or labels you have produced in your mail merge at any later time.
![]()