Tweening - The Basics for Simple Animations
- Understanding Flash
- Built-in Templates
- Simple Tweening
- Advanced Tweening
- Essential Interactions
- Converting Video to Flash
- Quizzes and User Input
- QuickTip Interactions
- Drag and Drop Interactions
Animation in Flash is built on the simple premise that actions happen between keyframes; that is, when a new keyframe is added, it becomes an opportunity to change the direction, style, color, size, and shape of any object on the timeline. A tween can be added to the frames between two keyframes to convert all of the blank frames to sections of animation - in other words, creating a "flip book" kind of animation. This can be used to make something go from one side to another onscreen, to make comething get bigger or smaller, or to make something morph from one shape to another, among other things. The concept of tweening is very useful in Flash, and a good thing to know how to use.
The following animation was created by starting a new, simple Flash Document and using the following steps.
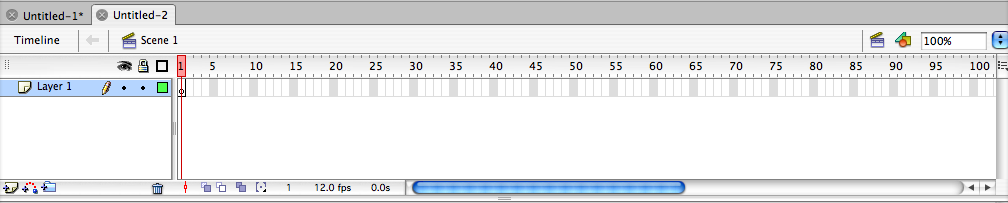
1. When the Stage appears, make sure the Timeline is open by clicking the word "Timeline" at the top right.
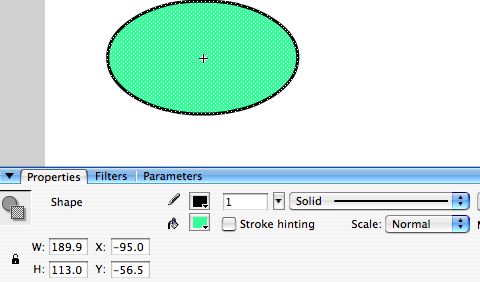
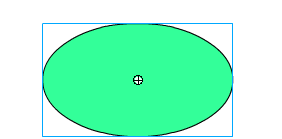
2. Next, create something in the stage using a drawing or text tool. I used the Circle tool to create an oval, and used the Properties window to make it blue. For an overview of drawing tools, consult the "Getting Started with Fireworks" guide.
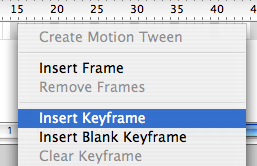
3. Now, right-click (or Control-click if you have a one-button Macintosh mouse) in the timeline under a frame number of your choice. I chose frame 15. In the contextual menu that appears, choose Insert Keyframe. Alternately, you may instead single-click on the timeline in the frame of your choice and select Keyframe from the Insert menu, Timeline subment also, if you desire.
4. You will now be at your keyframe instead of Frame 1. Click the black arrow in the Tools window and click and drag your image on the Stage to somewhere else on the Stage.
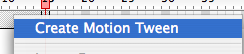
5. Right-click (or Control-click) in the gray area on the timeline and select Create Motion Tween from the menu. This will add frames between 1 and your keyframe that will "fill in" the animation.
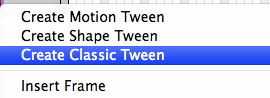
NOTE for Adobe CS4 users: If you are using version CS4 or higher, choose Create Classic Tween instead of Motion Tween.
Test your movie from the Control menu, and you may see an animation like the one at the beginning of this tutorial. If you wish, you can even create tween effects that do not simply move in a straight line - see the tutorial on using Shape Tweens and Motion Guides for more.
Timeline Effects
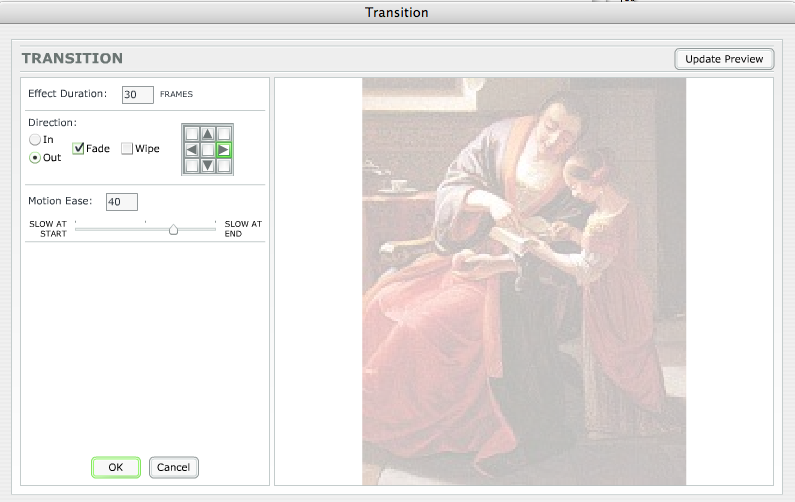
You can also right/Control-click on any symbol and drag down to "Timeline Effects" if you want to do some different things with your animation besides a basic Tween. With the ready-made timeline effects, you can create blurs, fades, and other transitions that include motion and visual effects with just a few clicks. Experiment to find effects that work for your needs. The example Flash movie below shows a slideshow with transition effects applied.

6. If you wish, you can even use the "A" tool to create some text, and turn it into a link by adding a URL to the link box within the Properties window.

![]()
Previewing Your Work
Any time you're ready to preview your Flash movie, click the File menu and choose Publish Preview -> Flash.
