
Slideshow Animations
- PowerPoint Basics
- Presentation Designs
- Custom Presentations
- Adding Slides and Layouts
- Clipart
- Multimedia
- Charts and Tables
- Slideshow Animations
- Action Buttons
- Viewing the Finished Show
- Tips for Effective Presentations
Ready-Made Animations
Customizing Animations
Slide Transitions
Perhaps one of the "coolest" features of PowerPoint is the ability to animate text, graphics, and multimedia aspects of a slide. The primary purpose for animation is to allow each point to appear as it is being discussed during a presentation, but animations can also be used simply to add spice and interest as well. Animations can be simple or glamorous, depending on your application and the effect you wish to achieve with your audience.
Ready-Made Animations
Most versions of PowerPoint contain a certain number of "ready-made" animations that can be applied at will to any object on a slide.
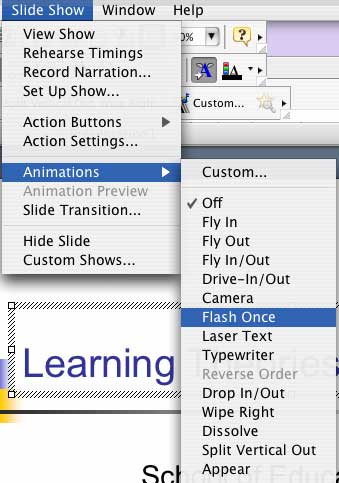
1. Click on the element (text box, graphic, button, movie, etc.) that you wish to animate, so that it is selected on the slide.

2. Click the Slide Show menu, drag down to Animation, then choose the animation you desire from the submenu. Many of these animation selections contain entrance and exit animation as well as accompanying sounds.
Custom Animations
PowerPoint allows the user a great deal of control over animated elements in a slide show through the use of the Custom Animation window.
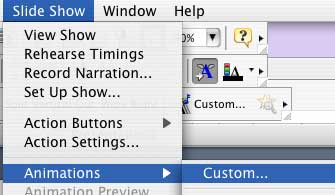
1. Click the Slide Show menu, drag down to Animations, then click Custom.
2. The Custom Animation window will appear. Note that this window contains three different tabs at the top right: Effects, Order and Timing, and Options. The Effects tab allows you to add entry and exit animations and sounds to any of the elements on the slide, which are selectable from the upper left-hand list.
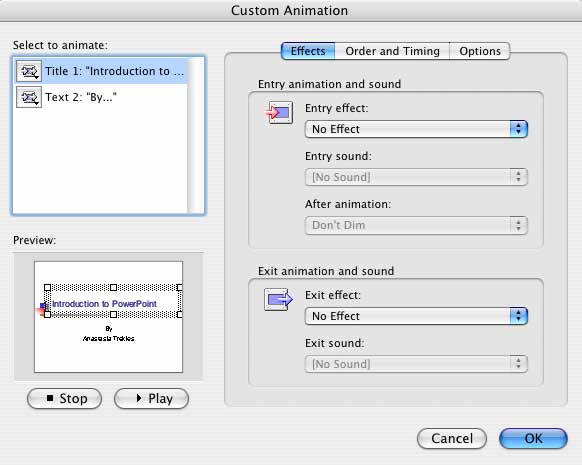
3. The Order and Timing tab allows you to change the order in which your animated items appear during your presentation. You also have the option to make each of your animations start after a designated number of seconds have gone by, thus automating your slide show.

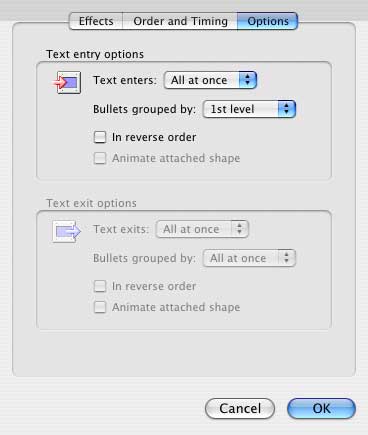
4. The Options tab allows you to change entry and exit options for text elements (graphics and other items do not have options). You can have text enter and/or exit all at once, by bulleted item, by word, or by letter; in addition, you can reverse the order in which text appears or leaves the slide.
Slide Transitions
Animations can also be applied to the transitions between slides. To do this:
1. Click the Slide Show Menu, then click Slide Transition.
![]()
2. Select the slide transition type and speed from the top half of the window. You can also add sounds to your transition, and you can time slides to change automatically after a designated number of seconds. Click Apply to apply the transition to the current slide, or Apply to All to put the transition on every slide in your presentation.
![]()